Monday, May 9, 2011

Thrifty Treasures

Hope everyone had a wonderful Mother's Day. Mine was great. After I slept for a couple of hours (I had just worked a graveyard shift) I awoke to a wonderful cake, baked by my youngest. Strawberry cake with chocolate frosting. He is definitely the cake baker in our house and he wanted to try something different. He thought it would taste like one of our favorite desserts, chocolate dipped strawberries. I have to admit it tasted pretty good. And the best part of my day, other than relaxing and getting waited on... was not having to cook dinner. My family took me out to eat at Red Robin's and the pasta I had was delicious!


Wonderful relaxing day spent with the ones I love!


Now for some thrifty treasures.

I picked up this little sweetie for a song. No, really I had to sing

for this one ;)

I know she is missing her bottom drawer but I have

an idea (which includes using the bucket you see in the photo below)


Sweet little vanity, I have the mirror that attaches also.

What I have in mind for this gal........any little girl

is going to want her after I'm done.

The little cart in front is going to get lined and ruffled

with some painter's drop cloth.

the long basket with a handle is going

to have a little work done and

hopefully will sit on top of a locker

I purchased that I will be using as

a mini pantry. I have a back "porch"

just off of my kitchen that is a mud/laundry room.

And that screen that's in back....well I have an idea

for it also.


Hopefully I can find some time between my crazy work schedule to finish these projects and share them with you. Right now, I'm participating in:

Southern Hospitality's Thrifty Treasures

Until Later,


Toni

Sunday, May 1, 2011

Made By Me.......

First I want to say..........I HAVE MISSED ALL OF YOU! I have been so busy with a new job, taking care of my dad, we went to California March 18th and moved him up to Idaho to live with us. In between everything I have been trying to do a little bit of thrifting, junking and crafting. It seems like forever since I have posted anything. I haven't been totally absent from blogland, I have tried to keep up with all that's going on by visiting all of you when I can. I have to say that you are all such an inspiration! While visiting everyone and keeping up with the eye candy in my fav magazines....Flea Market Style, Romantic Homes and Romantic Country , I noticed something that I fell in LOVE with. I have spotted this new love of mine on a couple of blogs and I know the Barn House boys have a similar one, as I spotted it in the beautiful photos of their home in Flea Market style. I have searched for one for awhile with no success. So I figured if I can't find one, then I will make my own!


This cabinet door (from the original farmhouse, that sits behind the farmhouse I live in) was perfect for the treasure I had in mind.


After a little sanding.....and I do mean a LITTLE sanding (not one of my favorite things to do) I could see my love taking shape.


A quick coat of some white paint that I had on hand. So far not a penny spent. I like that :)


There is a step missing here. I forgot to take photos....I know bad blogger. Truth be told...I was tired after this step.....I chose a font that I thought would be perfect for my little project and printed them out...one letter per page. Then I took plain stenciling sheets (the kind you make your own stencils with) that I had purchased at a yard sale for a $1. I think I had about 20 sheets. After laying the printed letter under the clear sheets, I cut each letter out with an Exacto knife. Then I traced each stenciled letter onto my board.


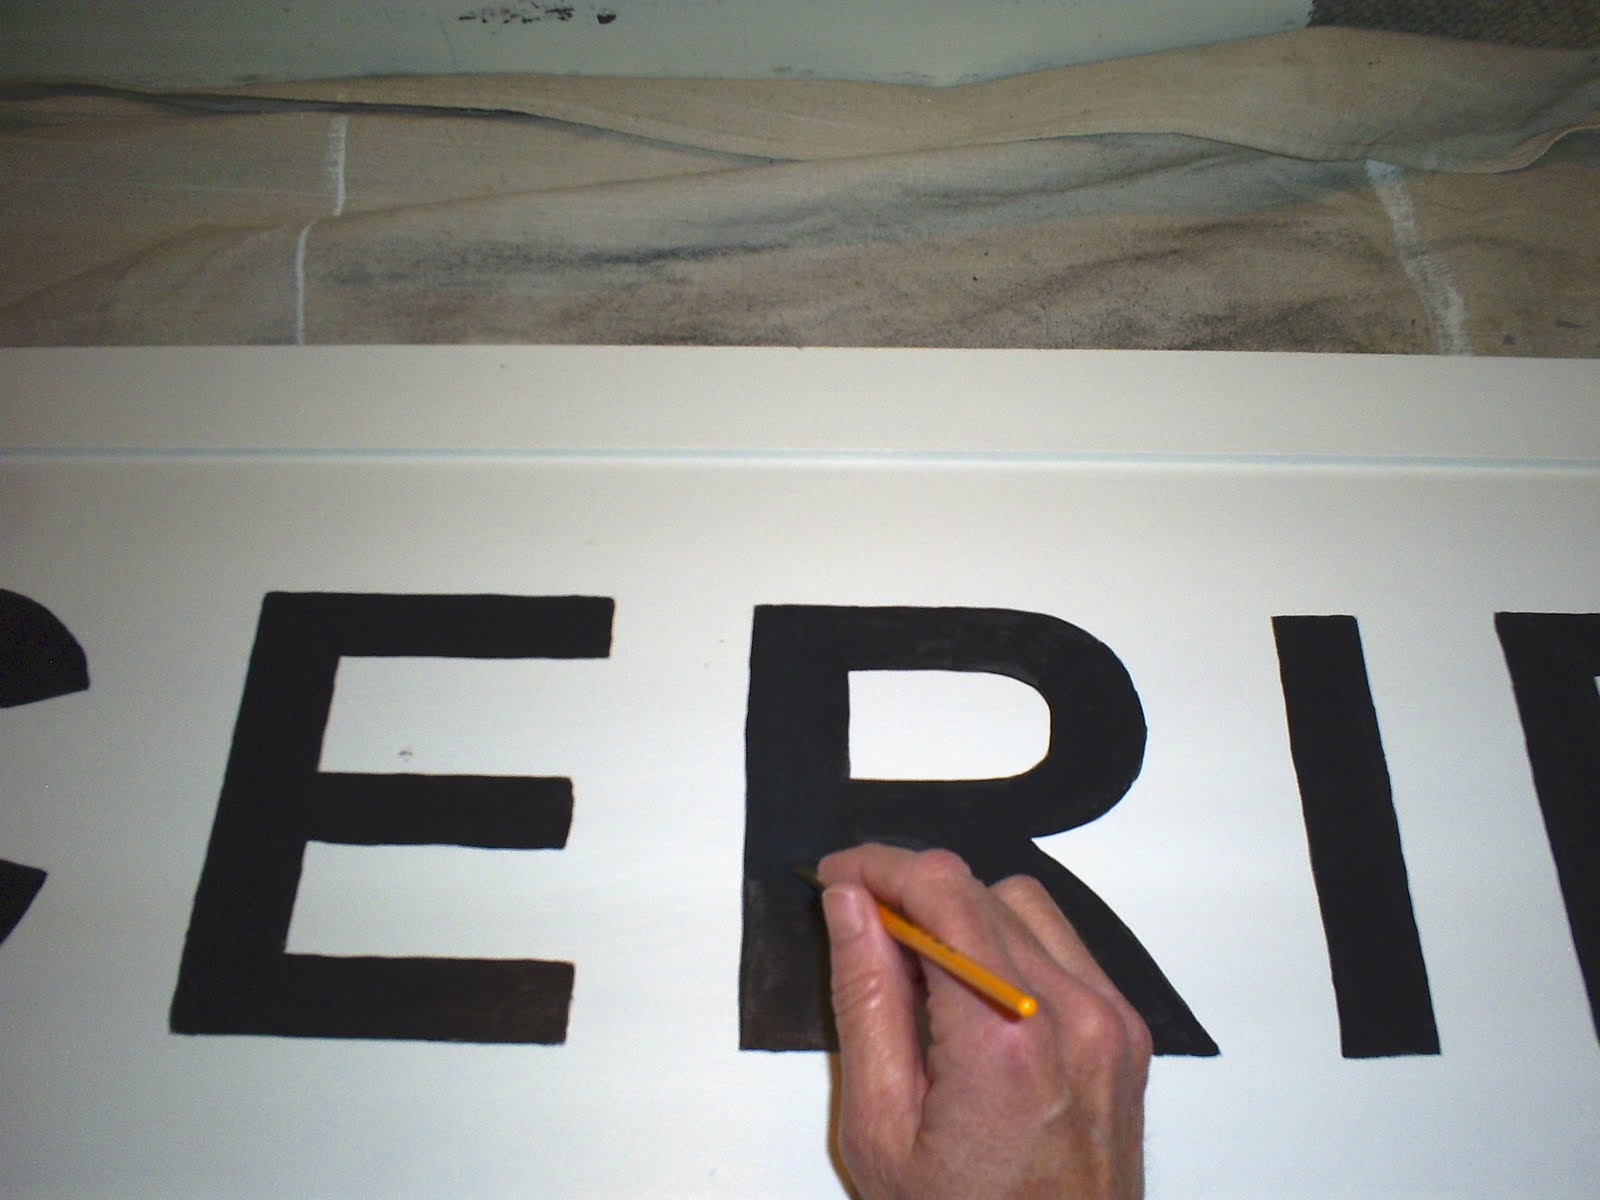
Then I hand painted each letter. Here is a photo of just one coat of paint on each letter. I wound up having to do 3 coats to get the depth of color I wanted.


Here I am putting on the third coat of paint. It really didn't take that long.


Oops! Another step is missing. I really wanted this piece to have an aged look. Like I just dug it out of some one's barn, after it had been there for about 60 years. after distressing the sign, I went over it with raw umber (the same stuff your local paint store uses to tint your paint) mixed with water.


I am so happy with the way it turned out. I have to admit that I get a little intimidated seeing all of the talent in blogland and wondering if I can be as creative. This project turned out just the way I had imagined it.


It may not be the real deal....but I am very happy with it. And it hangs proudly in my kitchen.


The whole project cost about $5. Blank stencils $1 at a yardsale, Paint brushes $4 with 50% coupon from JoAnnes.


Here is another little quick project that I completed. It was super easy and quick. I used my Cricut machine and cut out my house numbers and put them on my front door. Out here in the country we have these ugly green numbers posted on a fence post for our address and I have seen the vinyl addresses in blogland and wanted them for my front door. Easy Peasy...about 10 minutes.


Participating in:


Before and After Party hosted by Thrifty Decor Chic
Saturday Night Special hosted by Funky Junk Interiors
Nifty Thrifty Tuesdays hosted by Coastal Charm

Thrift Treasures hosted by Southern Hospitality


Until Later,


Toni

Friday, March 11, 2011

One Stop Shop

Remember This Door?


I told you in an earlier post that I was working on a couple
of projects. Well, I finished one of them and it involves
this door.
My friend Susan Fisher designs beautiful jewelry and needed a "shop".
As they say, location, location, location is priority when deciding to
open a business. Also displaying your treasures is very
important. When she asked if I could help, I had
an idea. (I know, scary). I originally
had plans for this old door for myself.
But then, quickly realized that it would
be perfect for Susan.
You see, this sweet little door came off of
the original farmhouse (pictured behind the door) that is still
standing behind the current farmhouse
I live in. This little farm I call
home is actually Susan's family farm.
So, it was perfect to use the door for
her new shop.
My idea for the door was to make it into a little
shop in itself. She will be consigning in a local
shop and space is limited. I wanted to incorporate
enough display options to allow her to
showcase many of her designs.
Transforming the door was simple.
I wanted to maintain as much of the vintage,
shabby, chippy wonderfulness of it as I could.
After deciding against painting it, all that was required
was a good cleaning, adding a few additions and a blackboard
where the original glass once was.
Here she is....

Ginger, Susan's kitty is giving her approval.


Here you can see I took eyelet screws and some picture wire,
creating a place for Susan to display her earrings. Susan came
up with the wonderful idea to use small clothes pins to hold the earrings.

She can display
a total of 21 pairs of earrings.


She makes beautiful necklaces also and I added two white,
shabby finials to display her necklaces on.


A better view of the finials and of the stencil I added.
I wanted to keep the "rustic" of the door but also I wanted
it to have a little feminine touch, so I added the
stencil.


Last but not least, I added this cute, shabby, cast iron soap dish
so she would have a place to put her business cards.

The blackboard allows her to write the shop name above her displays

and announce when she is having a sale.

And the fun part...We came up with the name .....

"White Door Designs"
for the name of her business.

"one stop shop" project completed :)

Susan doesn't have a blog or an Etsy shop......yet, but I'm working on her to get one or both. I will let you know if she opens an Etsy shop.

Linking up with Funky Junk Interiors

Linking up with Savvy Southern Style Wow Us Wednesday

Linking up with Elements Interiors Whassup Wednesdays ???

Until Later,
Toni