


This cabinet door (from the original farmhouse, that sits behind the farmhouse I live in) was perfect for the treasure I had in mind.

After a little sanding.....and I do mean a LITTLE sanding (not one of my favorite things to do) I could see my love taking shape.

A quick coat of some white paint that I had on hand. So far not a penny spent. I like that :)

There is a step missing here. I forgot to take photos....I know bad blogger. Truth be told...I was tired after this step.....I chose a font that I thought would be perfect for my little project and printed them out...one letter per page. Then I took plain stenciling sheets (the kind you make your own stencils with) that I had purchased at a yard sale for a $1. I think I had about 20 sheets. After laying the printed letter under the clear sheets, I cut each letter out with an Exacto knife. Then I traced each stenciled letter onto my board.

Here I am putting on the third coat of paint. It really didn't take that long.


I am so happy with the way it turned out. I have to admit that I get a little intimidated seeing all of the talent in blogland and wondering if I can be as creative. This project turned out just the way I had imagined it.

It may not be the real deal....but I am very happy with it. And it hangs proudly in my kitchen.

There is a step missing here. I forgot to take photos....I know bad blogger. Truth be told...I was tired after this step.....I chose a font that I thought would be perfect for my little project and printed them out...one letter per page. Then I took plain stenciling sheets (the kind you make your own stencils with) that I had purchased at a yard sale for a $1. I think I had about 20 sheets. After laying the printed letter under the clear sheets, I cut each letter out with an Exacto knife. Then I traced each stenciled letter onto my board.
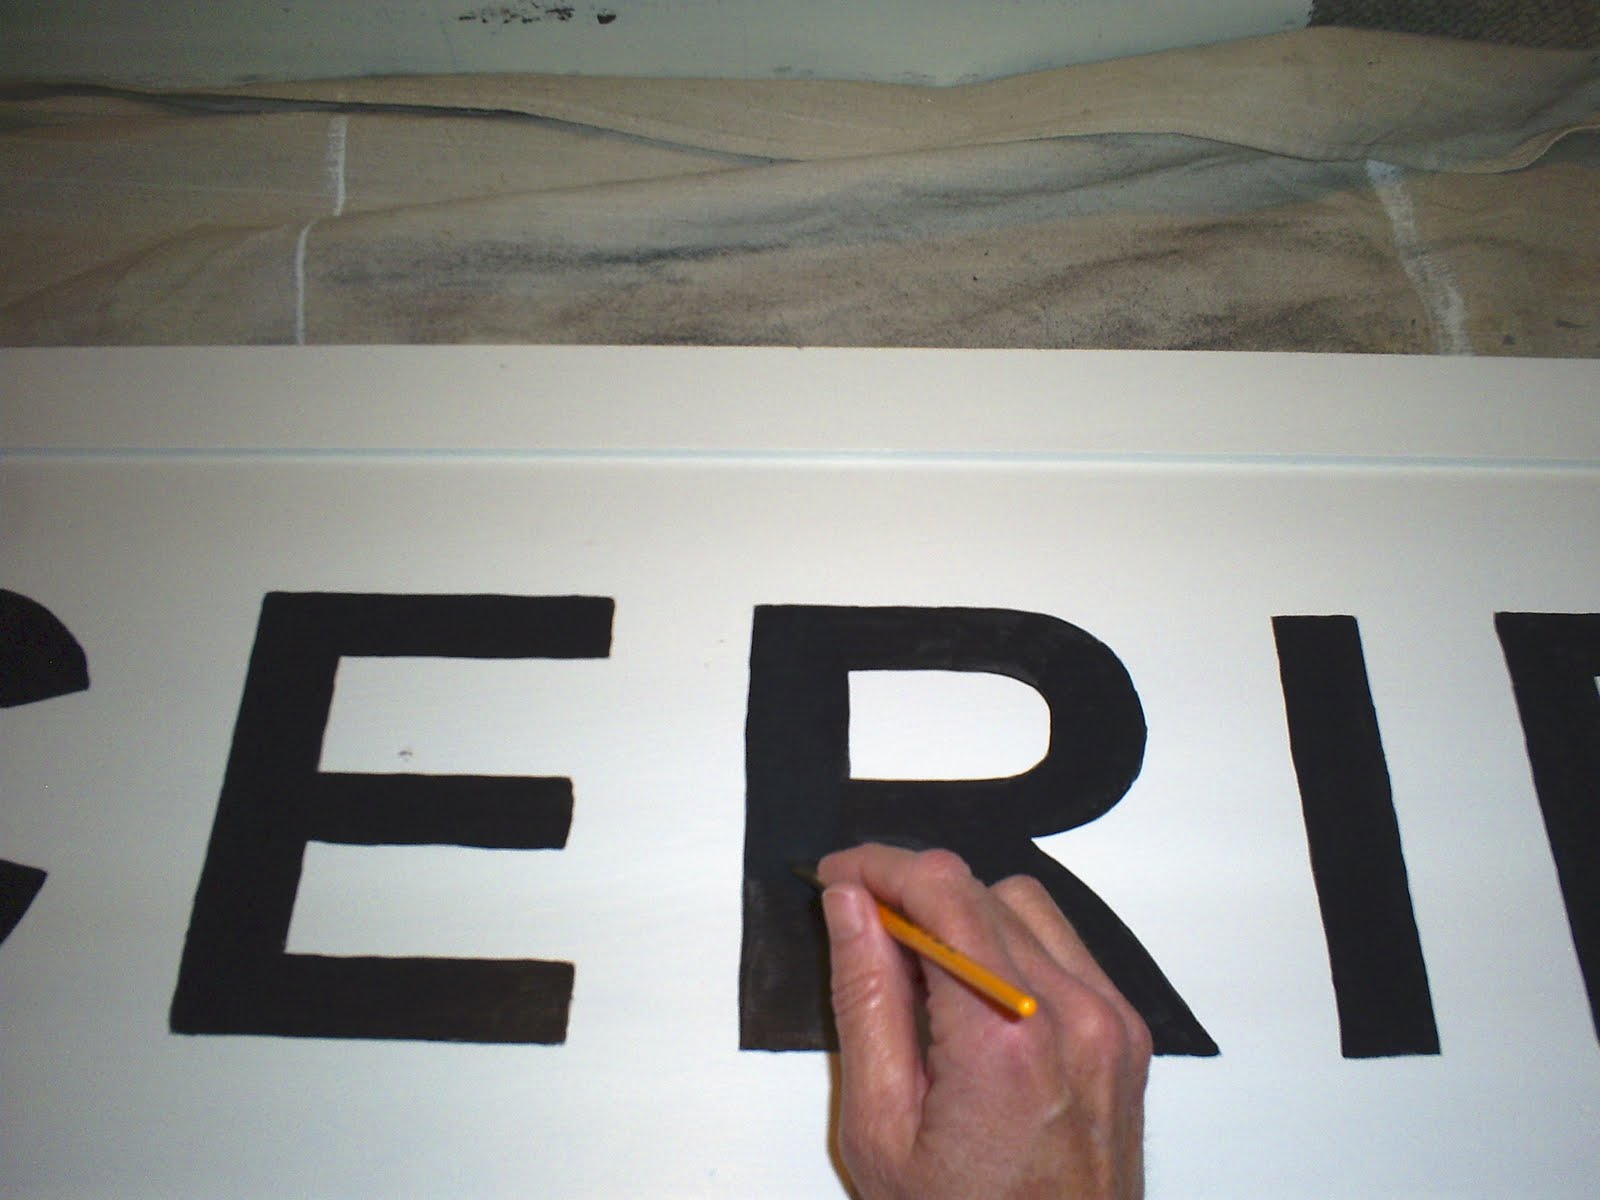
Then I hand painted each letter. Here is a photo of just one coat of paint on each letter. I wound up having to do 3 coats to get the depth of color I wanted.

Here I am putting on the third coat of paint. It really didn't take that long.
Oops! Another step is missing. I really wanted this piece to have an aged look. Like I just dug it out of some one's barn, after it had been there for about 60 years. after distressing the sign, I went over it with raw umber (the same stuff your local paint store uses to tint your paint) mixed with water.

I am so happy with the way it turned out. I have to admit that I get a little intimidated seeing all of the talent in blogland and wondering if I can be as creative. This project turned out just the way I had imagined it.

It may not be the real deal....but I am very happy with it. And it hangs proudly in my kitchen.
The whole project cost about $5. Blank stencils $1 at a yardsale, Paint brushes $4 with 50% coupon from JoAnnes.

Here is another little quick project that I completed. It was super easy and quick. I used my Cricut machine and cut out my house numbers and put them on my front door. Out here in the country we have these ugly green numbers posted on a fence post for our address and I have seen the vinyl addresses in blogland and wanted them for my front door. Easy Peasy...about 10 minutes.


Participating in:

Here is another little quick project that I completed. It was super easy and quick. I used my Cricut machine and cut out my house numbers and put them on my front door. Out here in the country we have these ugly green numbers posted on a fence post for our address and I have seen the vinyl addresses in blogland and wanted them for my front door. Easy Peasy...about 10 minutes.


Participating in:
Before and After Party hosted by Thrifty Decor Chic
Saturday Night Special hosted by Funky Junk Interiors
Nifty Thrifty Tuesdays hosted by Coastal Charm
Saturday Night Special hosted by Funky Junk Interiors
Nifty Thrifty Tuesdays hosted by Coastal Charm
Thrift Treasures hosted by Southern Hospitality
Until Later,
Toni


